WESECUU Security Camera Manual: A Comprehensive Guide
This manual details installation, configuration, operation, and maintenance of WESECUU cameras, ensuring optimal performance for home or business security needs.
Welcome to the world of WESECUU security! This introduction outlines the core principles behind our camera systems, designed for reliable home and business surveillance. WESECUU, a factory boasting over 500 staff with a decade of experience, prioritizes innovation and customer satisfaction.
Our cameras, like the 3MP Wireless and 2K Bulb models, offer features such as 2.4GHz/5GHz WiFi connectivity, motion detection, and clear night vision. This manual serves as your comprehensive guide, ensuring you maximize the potential of your WESECUU investment for enhanced security.
Understanding the Components
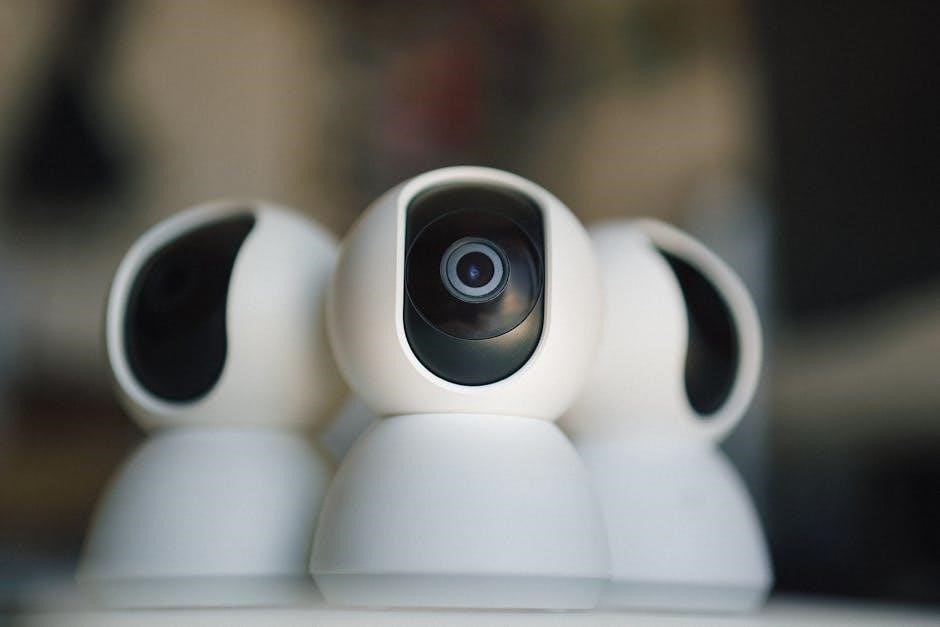
WESECUU systems typically include a camera unit and a Network Video Recorder (NVR). Cameras boast features like high-resolution imaging (3MP, 4K) and wireless connectivity (2.4GHz/5GHz). The NVR acts as the central hub, recording and managing footage from connected cameras.
Essential components also include power adapters, mounting hardware, and the XMEye Pro app for remote access. Understanding each element’s function is crucial for successful setup and optimal performance of your WESECUU security solution.
Camera Features & Specifications
WESECUU cameras offer diverse features, including 2K and 4K resolution for clear imagery. They support both 2.4GHz and 5GHz WiFi for flexible network options. Key specs include motion and human detection, color night vision, and two-way talk capabilities.
Some models, like the light bulb camera, offer discreet placement. AI features enhance detection accuracy, while compatibility with Alexa provides smart home integration. Detailed specifications are available in the user manual (PDF);
NVR (Network Video Recorder) Overview
The NVR serves as the central hub for your WESECUU security system, receiving and recording footage from connected cameras. It facilitates remote access and playback through the XMEye Pro app. Initial configuration involves setting the date, time, and network parameters.
The NVR supports local storage via HDD and potentially cloud options. User accounts with customizable permissions enhance security. Proper NVR setup is crucial for optimal system functionality and reliable recording.
Initial Setup & Installation
Before installation, carefully read the user manual for detailed instructions. Begin by connecting the camera to a power source, ensuring a stable connection. Next, configure the network settings, supporting both 2.4GHz and 5GHz WiFi.
Optimal camera placement is vital for effective surveillance; mount the camera securely. Proper installation ensures reliable performance and maximizes the benefits of your WESECUU security system, safeguarding your property effectively.
Connecting the Camera to Power
Ensure the power adapter matches your local voltage requirements before connecting it to the camera. Use the provided power cable and adapter for optimal performance and to avoid damage. Connect the adapter to a reliable power outlet, verifying a secure connection.
A stable power supply is crucial for uninterrupted operation. Avoid using extension cords if possible, and always prioritize safety during the power connection process.
Network Configuration (2.4GHz & 5GHz WiFi)
WESECUU cameras support both 2.4GHz and 5GHz WiFi networks, offering flexibility in setup. During configuration, select your desired network and enter the correct password. Ensure a strong WiFi signal for reliable connectivity.
The 2.4GHz band generally offers greater range, while 5GHz provides faster speeds. If experiencing connectivity issues, try switching between bands for optimal performance. Refer to your router’s manual for assistance.
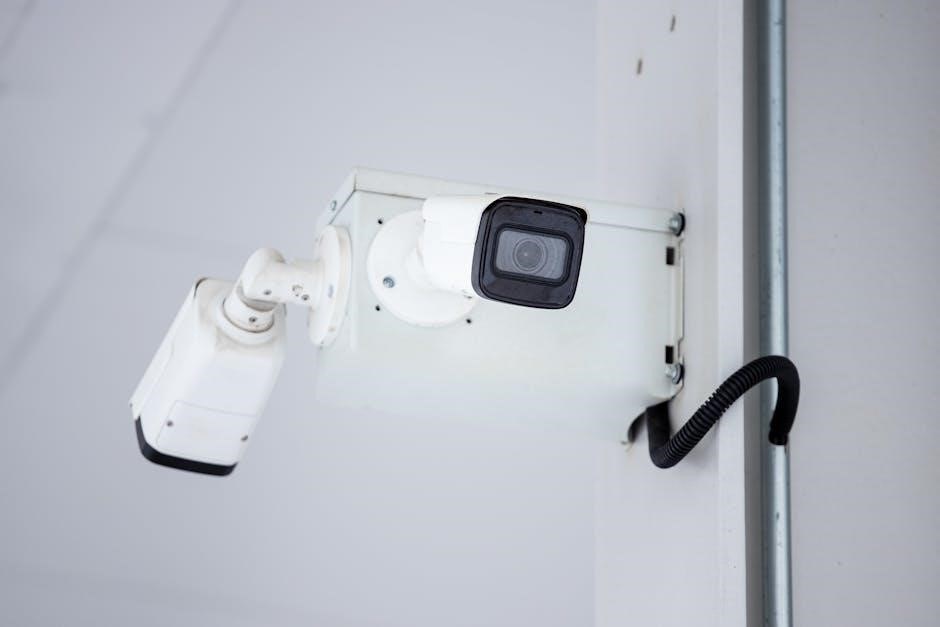
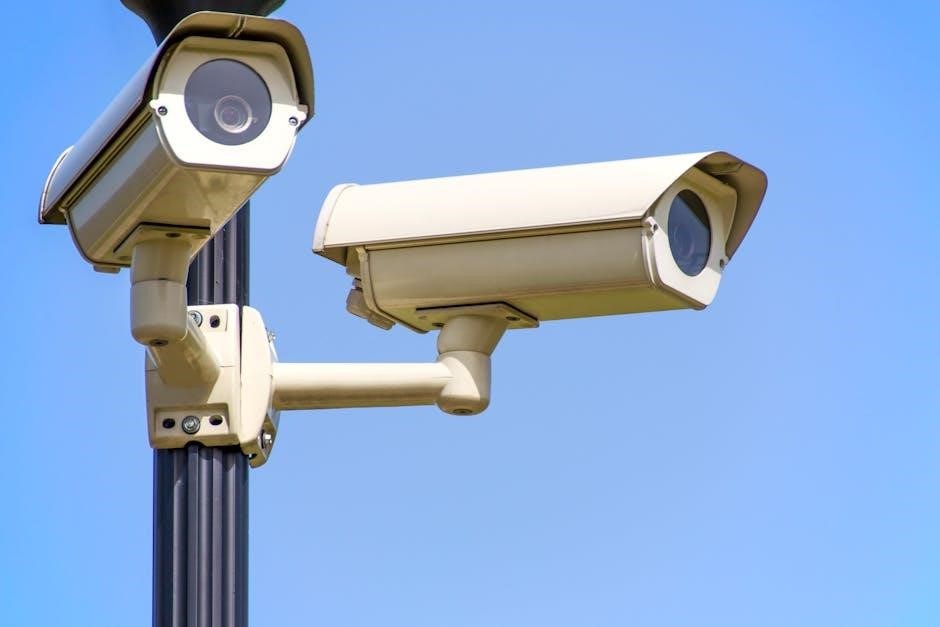
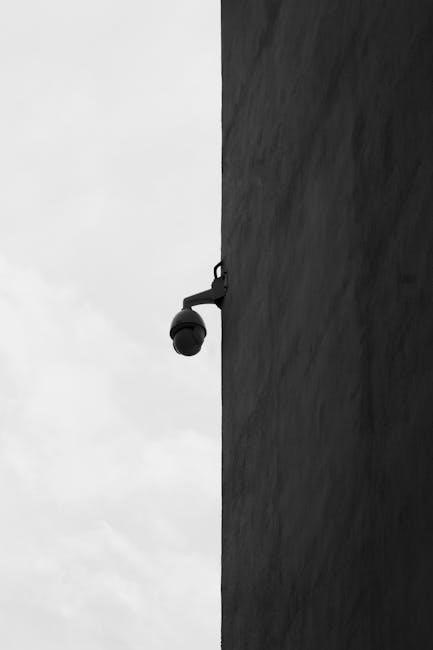
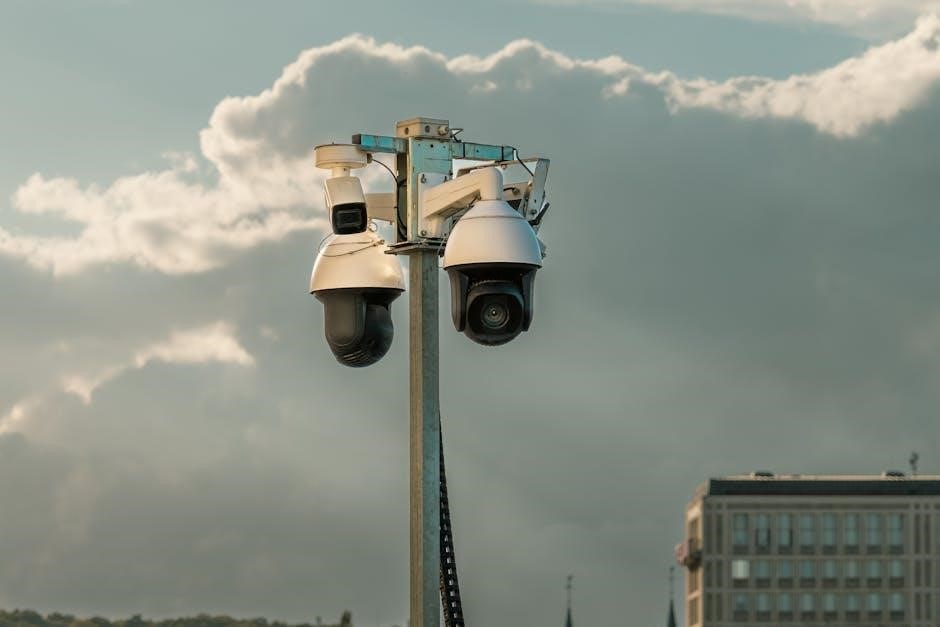
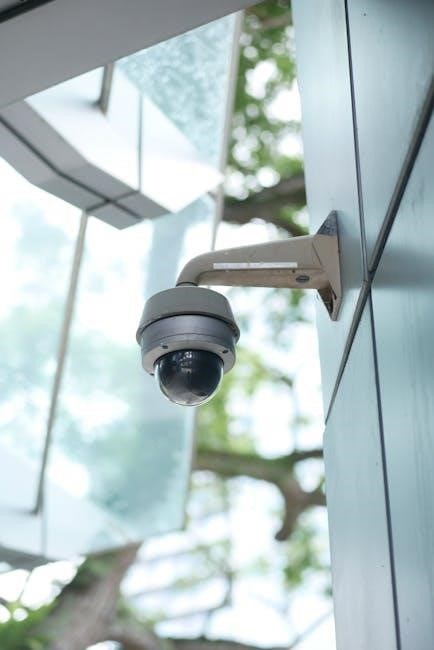
Mounting the Camera for Optimal Placement
Strategic camera placement is crucial for effective surveillance. Mount cameras in areas with clear views, avoiding obstructions like trees or bushes. Position cameras high enough to deter tampering, but low enough for detailed footage.
Consider lighting conditions; avoid aiming directly at bright light sources. Ensure the mounting surface is secure and can support the camera’s weight. Adjust the camera angle for the desired field of view, maximizing coverage.
NVR Setup and Configuration
Proper NVR configuration is essential for a functioning security system. Begin by connecting the cameras to the NVR, ensuring secure cabling. Next, configure the NVR’s basic settings – date, time, and network information – for accurate recording and remote access.
Create user accounts with appropriate permissions to control access to the system; Regularly review these settings to maintain security and optimal performance of your WESECUU system.
Connecting Cameras to the NVR
Establishing a secure connection between your WESECUU cameras and the NVR is the first step in system setup. Utilize the provided Ethernet cables to connect each camera to the corresponding port on the NVR’s rear panel.
Ensure all connections are snug and secure. The NVR should automatically detect the connected cameras; if not, manual addition via the NVR interface may be required. Verify camera signal strength for optimal performance.
Initial NVR Configuration (Date, Time, Network)
Upon powering on, the NVR requires initial configuration for accurate recording and remote access. Begin by setting the correct date and time within the NVR’s system settings.
Next, configure the network settings, choosing either DHCP for automatic IP assignment or a static IP address. Proper network configuration is crucial for remote viewing via the XMEye Pro app and reliable operation. Save all changes after completion.
User Account Creation & Permissions
Establishing user accounts with defined permissions is vital for security and access control. The NVR allows creation of multiple user accounts, each with customizable access levels.
Administrators possess full control, while standard users may have restricted viewing or playback permissions. Carefully assign roles based on individual needs, enhancing system security. Strong passwords are recommended for all accounts to prevent unauthorized access and maintain data integrity.
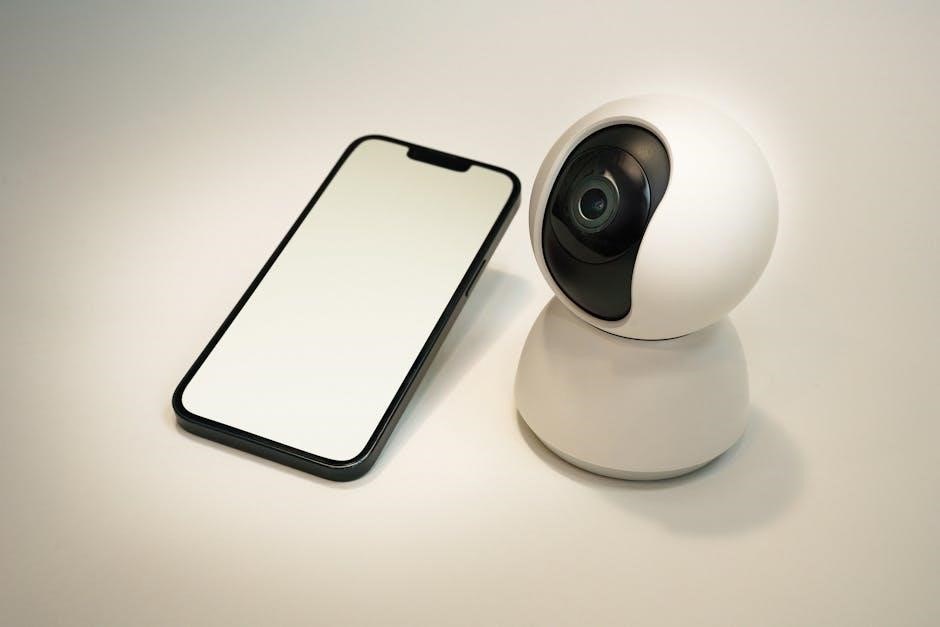
Using the XMEye Pro App for Remote Viewing
The XMEye Pro app enables convenient remote access to your WESECUU camera system from anywhere with an internet connection. Download and install the app on your smartphone or tablet to view live feeds, access recorded footage, and receive instant notifications.
Adding cameras is straightforward, utilizing device IDs or scanning QR codes. Enjoy real-time monitoring and control, ensuring peace of mind whether at home or away.
Downloading and Installing the App
To begin remote viewing, download the XMEye Pro application from your device’s app store (iOS or Android). Search for “XMEye Pro” and ensure you select the official application developed for WESECUU cameras.
Once downloaded, install the app following the on-screen prompts. Grant necessary permissions, such as access to your camera and network, for optimal functionality. A stable internet connection is crucial during installation.
Adding Cameras to the XMEye Pro App
After installation, open the XMEye Pro app and create an account or log in if you already have one. Tap the “+” icon to add a new device. Select the appropriate device type – typically “Device” or “Serial Number”.
Enter your camera’s serial number (found on the camera itself or the NVR) and set a secure password. The app will then connect to your camera, allowing you to view it remotely.
Remote Live View and Recording Access
Once cameras are added to the XMEye Pro app, tap a camera’s icon to access a live feed. You can view multiple cameras simultaneously in a split-screen mode. To access recordings, navigate to the “Playback” section within the app.
Select the date and time to review recorded footage. Utilize the timeline for precise navigation through events. Download clips directly to your mobile device for safekeeping or sharing.
Advanced Features & Settings
WESECUU cameras offer customizable settings for enhanced security. Configure motion detection sensitivity and specific zones to minimize false alerts. Explore human detection and AI features for smarter notifications, distinguishing between people and other movements.
Utilize smart playback with face search functionality to quickly locate recordings featuring specific individuals. Adjust image settings, recording schedules, and privacy masking for tailored surveillance.
Motion Detection Configuration
Customize motion detection to suit your needs. Adjust the sensitivity level to reduce false alarms triggered by minor movements like insects or falling leaves. Define specific detection zones within the camera’s field of view, focusing on critical areas like doorways and windows.
Configure schedules to activate motion detection only during specific times, conserving storage and minimizing unnecessary notifications. Fine-tune settings for optimal performance in varying environments.
Human Detection & AI Features
Leverage intelligent AI capabilities for enhanced security. WESECUU cameras utilize advanced algorithms to accurately detect human movement, minimizing false alerts from animals or objects. This feature significantly improves notification accuracy, ensuring you’re only alerted to relevant events.
Explore additional AI functionalities, such as facial recognition (if supported by your model), for personalized security and enhanced monitoring capabilities. Customize AI settings within the XMEye Pro app.
Smart Playback & Face Search Functionality
Efficiently review recorded footage with smart playback features. The WESECUU system allows for timeline-based searching, filtering events by motion detection or human detection. If your camera supports facial recognition, utilize the face search functionality within the XMEye Pro app.
Quickly locate specific recordings by searching for faces previously identified by the system, streamlining investigations and enhancing security monitoring. This feature saves valuable time during playback review.
Data Backup & Storage Options
WESECUU systems offer flexible storage solutions for your recorded footage. Utilize local storage via a Hard Disk Drive (HDD) installed within the NVR, managing capacity and overwriting older recordings as needed. Explore potential cloud storage options, if available, for offsite backup.
Regularly perform backup procedures to safeguard your data. Data export functionality allows you to copy recordings for archiving or evidence purposes, ensuring peace of mind.

Local Storage (HDD) Management
The NVR’s internal HDD provides reliable, on-site storage for your security footage. Manage HDD space efficiently by configuring recording schedules and resolutions. The system typically overwrites the oldest footage when the drive is full, ensuring continuous recording.
Regularly check the HDD’s health status through the NVR interface. Consider formatting the drive periodically to optimize performance and prevent potential errors, maintaining data integrity.
Cloud Storage Options (if available)
WESECUU may offer optional cloud storage plans for backup and remote access to your recordings. These services provide an off-site storage solution, protecting your footage from physical damage or theft affecting the NVR and HDD.
Cloud plans usually involve a monthly or annual subscription fee, varying based on storage capacity and retention period. Explore available options within the XMEye Pro app or the NVR’s settings menu.
Backup Procedures & Data Export
Regularly back up your NVR’s recordings to an external storage device (USB drive or external HDD) to safeguard against data loss. Access the NVR’s menu to initiate manual backups, or schedule automated backups for convenience.
Data export allows you to copy specific footage for archiving or sharing. Utilize the NVR interface or XMEye Pro app to select desired clips and export them in a compatible video format.
Troubleshooting Common Issues
If experiencing connectivity problems, verify the camera and NVR are within WiFi range and that network credentials are correct. Reboot both devices and check the router’s settings.
Poor image quality can stem from lens obstruction or low lighting. Clean the lens and adjust camera settings for optimal brightness. App errors often resolve with a simple app restart or re-installation. Consult the manual for specific error codes.
Connectivity Problems
Initial connectivity issues often arise from incorrect WiFi passwords or signal strength. Ensure the camera supports your WiFi frequency (2.4GHz or 5GHz). Verify the NVR is connected to the same network.
Rebooting both the camera and your router can resolve temporary glitches. Check for firmware updates, as these frequently include connectivity improvements. If problems persist, consult the user manual for advanced network configuration options.
Image Quality Issues
Poor image quality can stem from several factors. Check the camera lens for obstructions like dirt or smudges, and clean it gently. Verify sufficient lighting; low light impacts clarity. Adjust camera resolution settings within the XMEye Pro app or NVR interface.
Ensure the camera’s focus is correct. Network bandwidth limitations can also cause pixelation; a stronger connection may be needed. Review the manual for optimal settings.
App Functionality Errors
If the XMEye Pro app malfunctions, first ensure it’s the latest version from your app store. Clear the app’s cache and data, or try uninstalling and reinstalling it. Verify your mobile device’s internet connection is stable.
Double-check camera login credentials within the app. If issues persist, consult the WESECUU manual’s troubleshooting section or contact their support for assistance with app-specific errors.
WESECUU Camera System Maintenance
Regular maintenance ensures optimal performance and longevity of your WESECUU system. Gently clean camera lenses with a microfiber cloth to maintain image clarity. Periodically check cabling for damage and ensure secure connections.
Keep the NVR ventilated and dust-free. Regularly check for and install firmware updates, as these often include performance improvements and security patches. A factory reset, detailed in the manual, can resolve persistent issues.
Cleaning and Care
Proper cleaning maintains optimal image quality and extends the lifespan of your WESECUU camera. Use a soft, dry microfiber cloth to gently wipe the camera lens, removing dust and smudges. Avoid harsh chemicals or abrasive cleaners, as these can damage the lens coating.
For the camera housing, a slightly damp cloth is sufficient. Ensure the camera is powered off before cleaning. Regularly inspect the camera for any physical damage.
Firmware Updates
Regular firmware updates are crucial for maintaining optimal performance, security, and accessing new features on your WESECUU camera. Check the XMEye Pro app or the WESECUU website for available updates. Follow the on-screen instructions carefully during the update process; do not interrupt power.
Updates often include bug fixes, security patches, and improved compatibility. Keeping your firmware current ensures a stable and secure system.
Factory Reset Instructions
A factory reset restores the camera to its original default settings, erasing all custom configurations. Locate the reset button – typically a small pinhole – on the camera. Use a paperclip or similar tool to press and hold the button for approximately 10-15 seconds.
The camera will reboot. Be aware this will require re-adding the camera to your NVR and the XMEye Pro app. Use this as a last resort for troubleshooting.